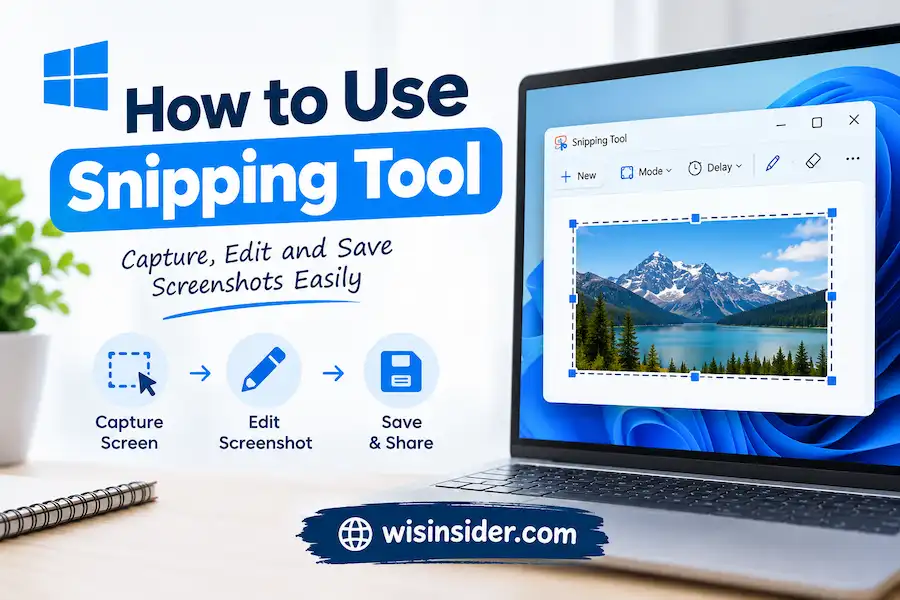
How to Use Snipping Tool on Windows 11, Windows 10, and Laptops (2026 Guide)

Your screen shows an error for three seconds. Then it vanishes. Your manager wants proof by noon. What do you press?
Most people fumble here. Some photograph the monitor with a phone. Others hit the Print Screen and open Paint. Both waste time.
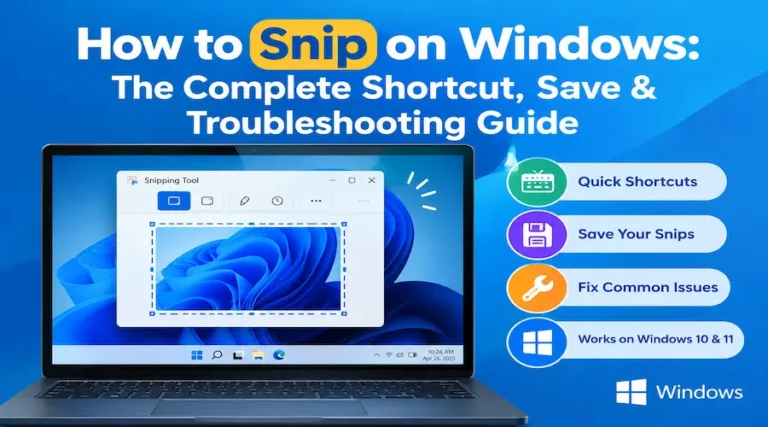
There is a faster way. Learning how to use Snipping Tool takes about two minutes. It works on Windows 11, Windows 10, and almost every laptop. It costs nothing. Windows 10 lost official support in October 2025, yet millions of people still use it, so this guide covers both systems.
You will get the exact shortcut, every screenshot key combo, and fixes for when things break. You will also learn where your files go and which free tools are worth trying. Ready to stop losing screenshots?
The Short Version
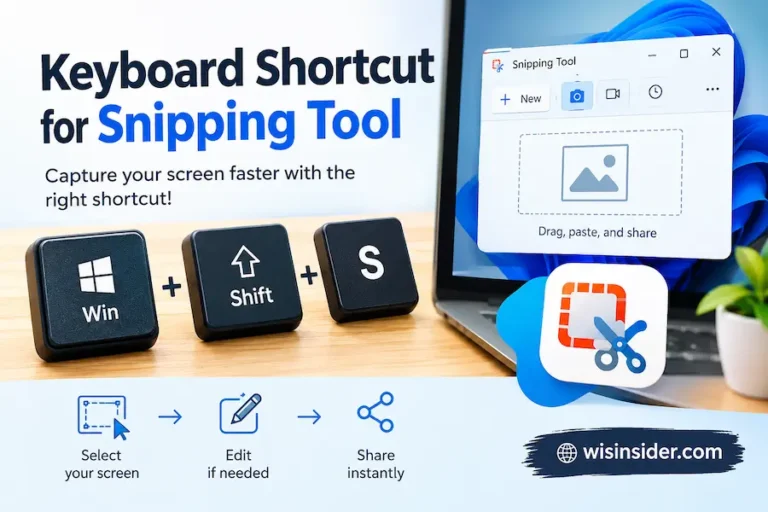
You will discover how to take a screenshot on Windows in under five seconds. Press Windows key + Shift + S, drag over your target, and paste with Ctrl + V. That covers 90 percent of daily needs.
This guide also gives you three angles most tutorials skip. First, the Print Screen key can open the snipping bar, and I think that setting beats the shortcut for most people. Second, the Windows key + Print Screen combo saves files automatically, which the popular shortcut does not. Third, newer Windows 11 builds can record video and copy text out of images.
You might think, “I already know how to screenshot.” Fair. But do you know why your snip disappears before you paste it? Do you know where it goes? This guide answers both.
We cover Windows 11, Windows 10, laptops, Mac, and Chromebook basics. We skip phone screenshots and advanced video editing. Give it ten minutes and you will never fumble again.
What Is Snipping Tool and Why Should You Use It?
Snipping Tool is a free screenshot app built into Windows. It captures any part of your screen as an image. Newer Windows 11 versions also record video and pull text from images. You need no download, no account, and no payment. It replaces the old habit of pressing Print Screen and then cropping in Paint.
Microsoft once split this job across two apps. Windows 10 had Snipping Tool and Snip & Sketch. Windows 11 merged them into one. So you now get capture, markup, and sharing in a single window.
Why does this matter? Speed. A screenshot that takes three seconds gets used. One that takes thirty gets skipped, and then you type a long explanation instead.
My opinion: this built in app beats most paid tools for daily work. Fancy features matter less than a fast shortcut. Save the paid software for tutorial production.
How To You Use Snipping Tool on Windows 11?
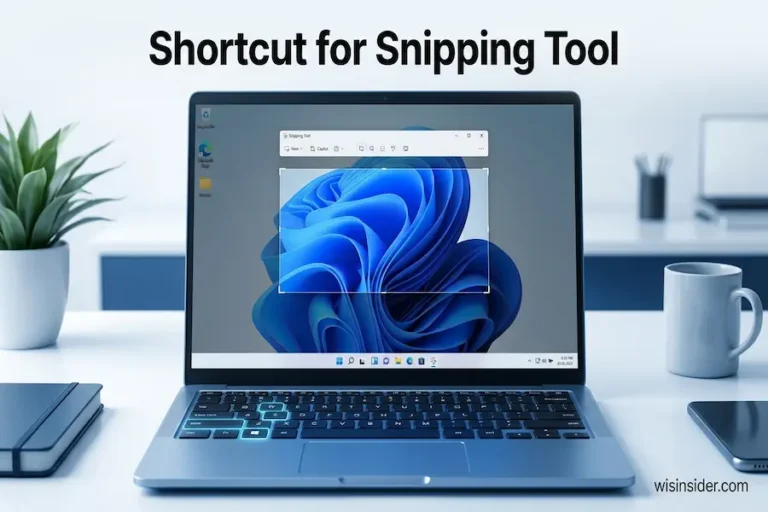
Press the Windows key, Shift, and S together. A small toolbar appears at the top of your screen. Pick rectangle, freeform, window, or full screen mode. Drag over the area you want. The snip copies to your clipboard. Click the pop up notification to edit or save it. Paste anywhere with Ctrl + V.
Here is the full process:
- Press Windows key + Shift + S.
- Choose a mode from the toolbar.
- Click and drag to select your area.
- Release the mouse button.
- Click the notification to open the editor.
- Press Ctrl + S to save.
The Four Snip Modes
| Mode | What it captures | Best use |
| Rectangle | A box you drag | Most daily screenshots |
| Freeform | Any shape you draw | Cutting around odd objects |
| Window | One app window | Clean shots without desktop clutter |
| Full screen | Everything on your display | Support tickets and wide context |
Rectangle mode wins about eight times in ten. Use window mode when you want a tidy app screenshot. Freeform sounds cool but rarely earns its place.
Want more control? Open the app from the Start menu. You get a delay timer, settings, and a bigger editor. If you plan to share screenshots in team chats, learn the editor tools well.
How To You Use Snipping Tool on Windows 10?
Windows 10 supports the same Windows key + Shift + S shortcut. It opens the snipping bar or Snip & Sketch, depending on your updates. You get rectangle, freeform, window, and full screen modes. Screen recording and text copying are mostly Windows 11 features, so expect a simpler tool.
The older app also offers a delay of one to five seconds. That helps when you need to capture a menu.
Microsoft ended official Windows 10 support in October 2025. Your screenshots still work fine. But I would upgrade for security reasons, not for screenshots. Missing security updates is the real risk. Check your Windows 11 upgrade options if your PC qualifies.
Some Windows 10 machines open Snip & Sketch instead of Snipping Tool. Do not panic. The steps stay the same. Snip, click the notification, mark up, save.
What Is the Snipping Tool Shortcut Key?
The main Snipping Tool shortcut is Windows key + Shift + S. It works on Windows 10 and Windows 11. The Print Screen key offers a second route once you turn on the right setting. Other key combos save files, copy one window, or start recordings. Pick two shortcuts and learn them well.
This cheat sheet covers every Windows screenshot shortcut key worth knowing:
| Shortcut | What it does | Saves a file? |
| Win + Shift + S | Opens the snipping bar | Clipboard only |
| Print Screen | Copies the whole screen (or opens snipping bar if enabled) | Clipboard only |
| Win + Print Screen | Captures the full screen | Yes, in Pictures > Screenshots |
| Alt + Print Screen | Copies the active window | Clipboard only |
| Win + Shift + R | Starts a screen recording on updated Windows 11 | After you stop |
| Win + Alt + Print Screen | Captures a game window via Xbox Game Bar | Yes, in Videos > Captures |
| Win + V | Opens Clipboard history | No |
Here is my contrarian take. Everyone teaches Win + Shift + S first. But if you want a file with zero extra clicks, Win + Print Screen is better. Your screen flickers, and the file lands in the Screenshots folder. No pasting. No lost clips.
To make Print Screen open the snipping bar, go to Settings, then Accessibility, then Keyboard. Turn on the Print Screen option. This is the single best setting change most users never make. See our keyboard shortcuts guide for more.
How To You Take a Screenshot on a Laptop?
Most laptops use the standard Windows shortcuts. Press Windows key + Shift + S first. If nothing happens, hold the Fn key with Print Screen. Some keyboards label it PrtSc or PrtScn. Brands like HP, Dell, and Lenovo often require Fn. Check your manual if your model behaves differently.
People search for “ss in laptop” all the time. SS simply means screenshot. The steps are the same as on a desktop PC.
Laptop keys cause most confusion. Many models share Print Screen with another function. So you may need Fn + Print Screen, or Fn + Windows key + Print Screen. Try each one until a file appears or the screen flickers.
Surface devices work differently. Some Surface models use a Windows button and volume down combo. Others use Fn with another key. Look up your exact model to be sure.
Another laptop trick: turn off Fn Lock in your BIOS or with the Fn + Esc combo. That can restore normal function keys. It is not universal, so test carefully.
How To You Use Snipping Tool to Copy and Paste?
Take your snip with Windows key + Shift + S. The image copies to your clipboard automatically. Open Word, Outlook, Teams, or Paint. Press Ctrl + V to paste it. That is the whole trick. If you copy something else first, the snip disappears unless Clipboard history is on.
Here is the catch most tutorials skip. The clipboard holds one item by default. So if you snip, then copy a phone number, your snip is gone.
Fix this in ten seconds. Press Windows key + V. Windows asks if you want to turn on Clipboard history. Say yes. Now your last several snips stay available.
Where can you paste? Almost anywhere. Word documents, emails, chat apps, slide decks, and image editors all accept it. Some web forms do not. In those cases, save the file and upload it instead.
Want a saved copy every time? Turn on the auto save option in the app settings. Then each snip lands in your Pictures folder. Read more about organizing your screenshot folders.
How To You Use a Snipping Tool Without the Windows Key?
You can open Snipping Tool without the Windows key in several ways. Click the Start button and type Snipping Tool. Pin the app to your taskbar. Turn on the Print Screen setting. Use the On Screen Keyboard. Or open the Run box and type snippingtool. Each route works on Windows 11.
Broken Windows keys happen. So do gaming keyboards with Win Lock. Here are your options:
- Start menu search. Click Start, type “Snipping Tool,” and press Enter.
- Taskbar pin. Right click the app and choose Pin to taskbar. One click from then on.
- Print Screen setting. Enable it under Settings, Accessibility, Keyboard.
- On Screen Keyboard. Search for it in Start, then click Win, Shift, and S in order.
- Run box. Press Ctrl + Esc, type the command, and press Enter.
I recommend the taskbar pin for people who dislike shortcuts. It takes one click and needs no memory. Add the Print Screen setting too. Then you have two backup routes.
Where Can You Get the Snipping Tool Download?
Snipping Tool comes preinstalled on Windows 10 and Windows 11. If it is missing, open the Microsoft Store and search for Snipping Tool. Choose the listing from Microsoft Corporation and click Get. It is free. Avoid third party sites offering a standalone file, because they can carry malware.
The Microsoft Store also handles updates. Open Library and click Get updates. New features like recording and text actions arrive this way.
If the app is missing, try these fixes:
- Check Windows Update first.
- Search Start for “Snipping Tool” before assuming it is gone.
- Use the Repair or Reset option under Settings, Apps, Installed apps.
I would never download an “installer” from a random website. The real app is free and lives in one official place. Any site charging you is selling something else. For more on safe software habits, see our guide to trusted downloads.
How To Use Snipping Tool on Mac?
You cannot use Snipping Tool on a Mac because it is a Windows app. Macs have their own tools. Press Shift + Command + 4 to capture a selected area. Press Shift + Command + 3 for the full screen. Press Shift + Command + 5 to open a toolbar that also records video.
People often search “how to use snipping tool mac” often. The good news is that macOS does the job well. The Screenshot app appears when you press Shift + Command + 5. It offers area, window, full screen, and recording options.
Chromebook users have a similar path. Press Ctrl + Shift + the Show all windows key. A capture toolbar appears.
Fair warning: Mac files save to your Desktop by default. Windows users often expect a clipboard copy. Hold Control while pressing the shortcut to copy instead of save. Small detail, big time saver.
Can Snipping Tool Record Video and Copy Text?
Yes, on updated Windows 11 versions. Switch to the record option, select an area, and click Start. Stop when done and save the MP4 file. For text, use Text Actions in the editor. It detects words in an image so you can copy them. Windows 10 lacks both features.
Screen Recording Steps
- Open Snipping Tool.
- Switch to the video camera icon.
- Click New and drag over your recording area.
- Click Start and wait for the countdown.
- Click Stop when finished.
- Save the MP4 file.
Some versions let you add system audio or microphone sound. Check those toggles before you begin. Otherwise your video may play silently.
This tool suits short clips. A 30 second bug report works great. For long or polished videos, try OBS Studio. It is free and far more powerful.
Copying Text from Images
Text Actions uses optical character recognition, often called OCR. Take a snip, click Text Actions, and select the words. Choose Copy all text to grab everything. It also offers a quick redact option for emails and phone numbers. Always double check the result before you share.
If your app lacks these features, update it in the Microsoft Store. Our screen recording tips go deeper.
How Do You Edit and Save Your Snips?
After you snip, click the notification to open the editor. Use the pen, pencil, or highlighter to mark up your image. Crop out extras. Then press Ctrl + S to save. Choose PNG for text and sharp edges. Choose JPG for photos and smaller files. Auto saved snips go to Pictures, then Screenshots.
The editor includes a ballpoint pen, pencil, highlighter, eraser, ruler, and crop tool. Keep it simple. One red arrow beats five colors.
Follow these habits for clear screenshots:
- Crop tightly so readers see only what matters.
- Use highlighter instead of solid boxes so text stays readable.
- Zoom your browser with Ctrl + Plus before capturing small text.
- Name files clearly, like “billing error march.png.”
Where do files go? Auto saved snips land in the Screenshots folder inside Pictures. Recordings go to a Screen Recordings folder inside Videos. If you use OneDrive, these folders may sync to the cloud. That is handy, but remember it before you capture anything private. Check our file naming tips to stay organized.
Which Screenshot Tools Beat Snipping Tool?
Snipping Tool wins for speed and simplicity. Other tools win for automation, editing, or long recordings. Share X suits power users. Snagit suits professional tutorials. OBS Studio suits long videos. Most people never need them. Try them only when Snipping Tool truly falls short.
Here is my honest take on each option:
| Tool | Cost | Strength | Weakness |
| Microsoft Paint | Built in | Simple editing after a capture | Clunky for capturing |
| Xbox Game Bar | Built in | Great for games | Captures only the active app |
| Lightshot | Free | Instant sharing and quick edits | Basic features |
| Greenshot | Free, open source | Clean annotation tools | Less active development |
| ShareX | Free, open source | Automation and uploads | Overwhelming for beginners |
| PicPick | Free personal use | Nice color picker and editor | Paid license for work |
| Snagit | Paid | Polished tutorials and guides | Costs money |
| OBS Studio | Free, open source | Long, high quality recordings | Steep learning curve |
My pick: start with the Snipping Tool. Add Share X only if you upload screenshots dozens of times a day. Buy Snagit only if you produce documentation for a living. Check current pricing on each vendor’s site, because plans change.
Curious how these compare in depth? Read our screenshot software comparison.
Why Is the Snipping Tool Not Working?
Restart your PC first. Then update the Snipping Tool in the Microsoft Store. Try Repair or Reset in Settings. Check for keyboard problems and conflicting apps like Lightshot or ShareX. Turn off Focus assist if the notification never appears. Restart Windows Explorer from Task Manager as a last step.
Work through these fixes in order:
- Restart. A stuck process causes most glitches.
- Update. Open the Microsoft Store, click Library, and update the app.
- Repair. Go to Settings, Apps, Installed apps, Snipping Tool, Advanced options, then Repair. Try Reset if that fails.
- Test your keys. Some laptops need Fn. Some gaming keyboards lock the Windows key.
- Close other screenshot apps. They often steal the same shortcut.
- Check notifications. Focus assist may hide the pop up.
- Restart Windows Explorer. Press Ctrl + Shift + Esc, find Windows Explorer, and choose Restart.
- Ask IT. Work computers sometimes block the tool by policy.
Getting a black screen in your snip? Protected video, such as streaming shows, blocks capture on purpose. That is copyright protection, not a bug. Our Windows troubleshooting page covers more errors.
What Mistakes Should You Avoid?
The biggest mistakes are forgetting the clipboard limit, sharing sensitive details, and saving as JPG. Each one is easy to prevent. Turn on Clipboard history, review every snip before sending, and save text screenshots as PNG. Small habits protect your time and your privacy.
Here is what I see people get wrong most:
- Losing snips to the clipboard. Turn on Windows key + V history today.
- Leaking private data. Names, emails, tokens, and account numbers sneak into screenshots. Blur or cover them.
- Saving as JPG. Compression makes small text fuzzy. Use PNG.
- Skipping alt text. If you publish screenshots online, describe them. It helps accessibility and search. Learn more in our image SEO checklist.
- Capturing too much. Show only what the reader needs.
- Ignoring updates. New features arrive through the Store, not Windows Update alone.
Also keep privacy basics in mind when you share screenshots at work.
FAQs
What is the shortcut for Snipping Tool?
Press Windows key + Shift + S. It works on Windows 10 and Windows 11 and opens the snipping bar right away.
How do I take a screenshot on Windows?
Press Windows key + Shift + S, choose a mode, and drag. For a full screen file, press Windows key + Print Screen instead.
How do I take a screenshot on a laptop?
Use the same Windows shortcuts. If Print Screen does nothing, hold Fn while pressing it. Some models need Fn plus the Windows key.
Where do screenshots go on a PC?
Win + Print Screen saves to Pictures, then Screenshots. Win + Shift + S copies to your clipboard until you save it.
Is Snipping Tool free?
Yes. It comes with Windows at no cost. The Microsoft Store version is free too.
Can I use Snipping Tool on Mac?
No. Use Shift + Command + 4 or Shift + Command + 5 on macOS instead.
Why is my screenshot black?
Protected content, like streaming video, blocks screen capture. Try pausing the video or using a different window.
Does Print Screen open Snipping Tool?
It can. Turn on the option under Settings, Accessibility, Keyboard. Then Print Screen opens the snipping bar.
Can Snipping Tool record my screen?
Updated Windows 11 versions can. Pick the record option, select an area, and press Start. Files save as MP4.
How do I screenshot a menu that disappears?
Set a delay in the app, click New, then open your menu before the timer ends.
What does ss mean on a laptop?
It means screenshot. People often type “ss in laptop” when they want the key combo.
What is the difference between Snip & Sketch and Snipping Tool?
Snip & Sketch was an older Windows 10 app. Windows 11 combines both into one Snipping Tool.
Have a question that is not listed? Browse our Windows how to library for more answers.
Final Thoughts
Back to that vanishing error message. You now know exactly what to press. Windows key + Shift + S grabs it in a second. Paste it into an email and your manager has proof before noon.
Your next step is simple. Right now, open Settings and turn on the Print Screen option. Then turn on Clipboard history with Windows key + V. Those two changes remove most screenshot headaches.
Looking ahead, I expect Microsoft to keep adding smart features to this app, especially text tools and recording upgrades. Check the Microsoft Store now and then so you do not miss them. If you enjoyed this guide, explore our Windows tips hub, our productivity shortcuts, and our free software picks.
Which screenshot shortcut do you use most, and what would you love the Snipping Tool to add? Share it in the comments.